
I made this Kindle/Nook cover because I mis-measured a piece of fabric and didn't want to waste it. I don't even own a Kindle or a Nook ... yet!
This is my first attempt at writing a "big" tutorial. It was a challenge to try to put in writing the stuff I usually do by instinct and experience.
The crazy thing about that is I have been a school teacher for the past 27 years and have taught language arts specifically for the past 12 years. We always have to write a "How-to" essay and it's one of the most difficult thing for kids to do. It's not easy for adults, either!
 |
| I had to borrow my sister-in-law's Kindle to take this photo. |
So here goes! I hope it you can understand my directions. AND I would really appreciate any constructive feedback you can provide.
Directions for a Kindle/Nook Cover:
Materials needed:
Main fabric - 16" x 9"Fabric for lining – 16” x "9"
Fusible interfacing - 16" x 9"
Fusible fleece - 16" x 9"
2" x 30" strip of complementary fabric for binding
Velcro - appox. 1" strip
Matching thread
All seams are 1/4"
Once you cut your fabric, round the edges of the corners of top side of the fabric. As you can see, I used a yogurt top. You can use any round shape that suits you.

Lay your main fabric on top of the lining and use it as a pattern to cut out the lining fabric.
  The rounded edge is the TOP of your piece, the straight edge is the BOTTOM. Iron the fusible fleece to the WRONG side of the lining. Leave a small margin around the edges, so the seams won't be too bulky when you sew the sides together.  Place the main fabric and lining with the RIGHT sides together and sew a seam along the BOTTOM straight edge. Fold back the seams, and with WRONG sides together, press the seam and top stitch along the BOTTOM straight edge.  Stitch around the all the raw edges to keep the front and back secure.  Measure 6 inches from the bottom and fold the edge up to create the envelope/pocket for the e-reader. Stitch along the side edges to close the pocket. |

Time to make the binding:
Take the 2” x 30” fabric strip and fold it in half and press with iron.

Open it up and press edge to crease in the middle.
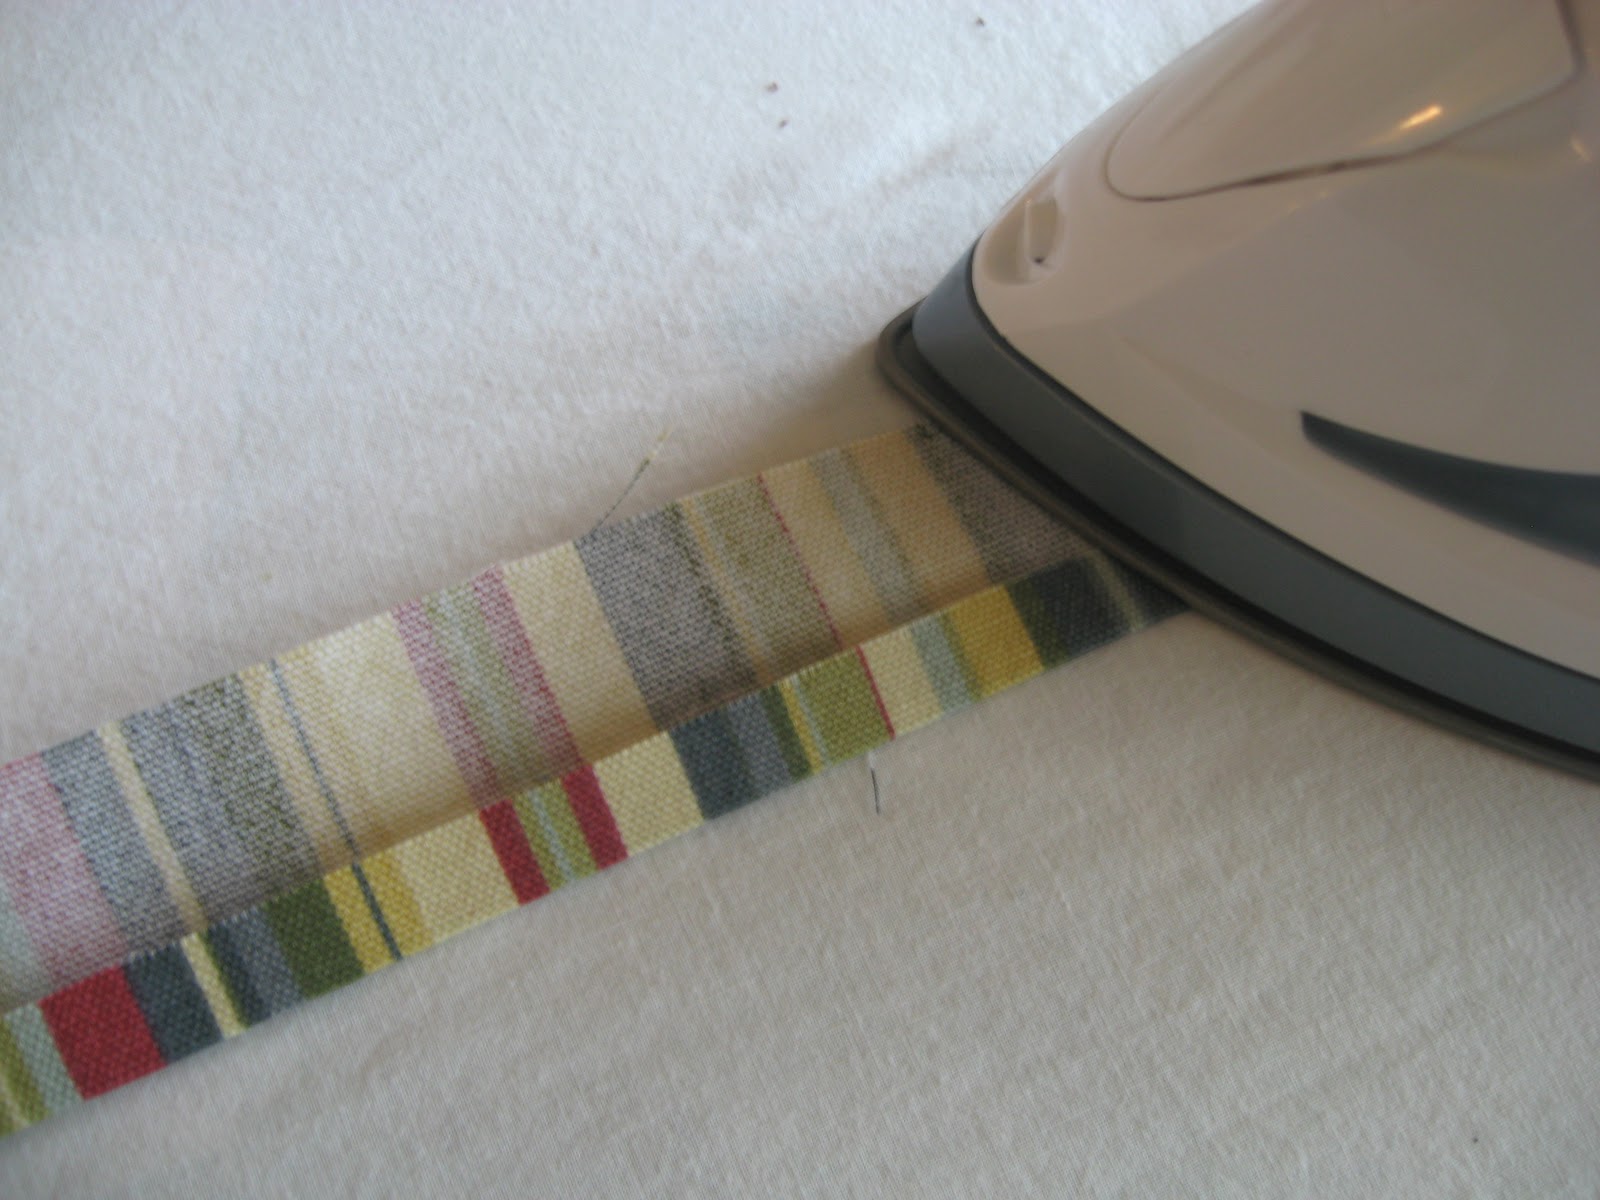
Repeat for other side.

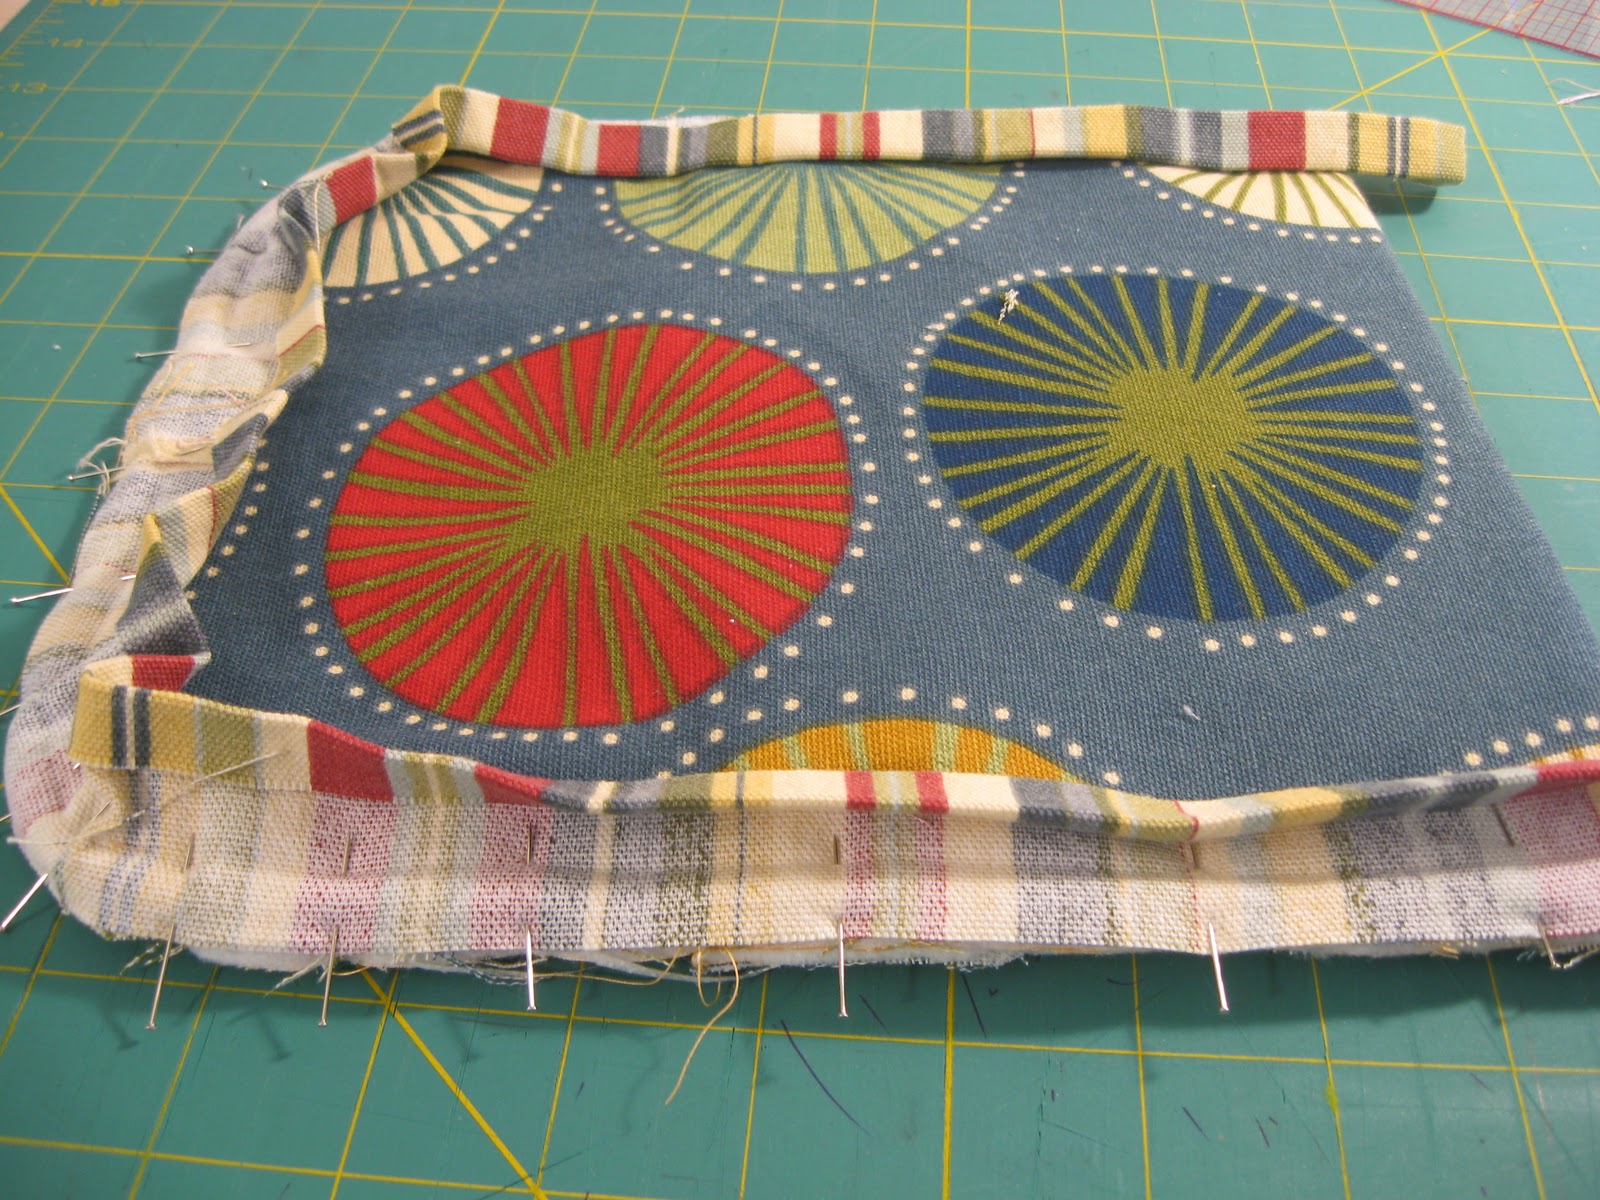
Fold the binding over the raw edges.
I like to use Steam-a-Seam to hold everything down before I sew. Or you can just pin it.

Stitch the binding closed around the edges.


You’re finished!

No comments:
Post a Comment